
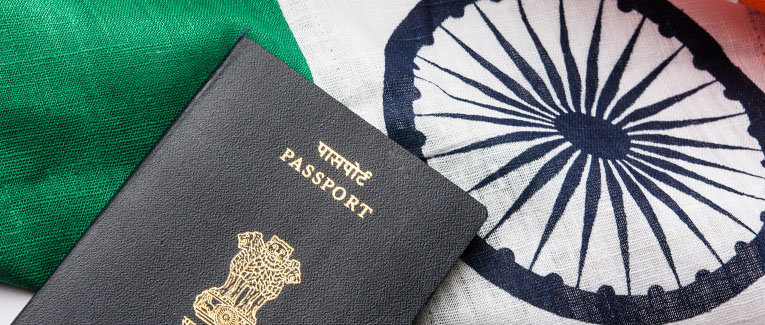
Indian Passport Application Renewal in the USA: A Comprehensive Guide by YogiServe
Renewing your Indian passport while residing in the USA might seem like a daunting task. However, with the right information and assistance from YogiServe, the process can be straightforward and stress-free. This guide provides all the necessary steps, requirements, and tips to ensure a smooth passport renewal experience.
Why Renew Your Indian Passport?
Renewing your Indian passport is crucial for several reasons:
- Legal Requirement: An expired passport is invalid for international travel.
- Identification: A passport is a key identity document for various purposes.
- Visa Validity: Some countries require a valid passport for visa extensions.
When to Renew Your Indian Passport
Ideally, you should apply for renewal at least six months before your passport expires. This allows ample time for processing and avoids any last-minute travel issues.
Steps to Renew Your Indian Passport in the USA
1. Gather Required Documents
Before starting your application, ensure you have the following documents:
- Original passport and a photocopy of the first five and last two pages.
- Completed application form.
- Recent passport-sized photographs (2 inches x 2 inches) with a white background.
- Proof of address (e.g., utility bill, lease agreement).
- Payment proof (if paying online) or demand draft.
2. Fill Out the Online Application
Visit the official Passport Seva at Indian Embassies and Consulates website and complete the online application form. Ensure all details match your current passport to avoid discrepancies.
3. Schedule an Appointment
After submitting the form online, schedule an appointment at your nearest Indian consulate or VFS Global center. Early appointments ensure quicker processing.
4. Attend Your Appointment
On the day of your appointment:
- Bring all required documents.
- Arrive on time to avoid delays.
- Submit your application and provide biometric data if required.
5. Track Your Application
You can track the status of your application online through the VFS Global tracking system. This helps you stay informed about the progress of your renewal.
6. Receive Your New Passport
Once processed, your new passport will be mailed to your provided address. Ensure you are available to receive it or authorize someone to do so on your behalf.
Tips for a Smooth Renewal Process
- Double-Check Documents: Ensure all documents are accurate and complete.
- Professional Assistance: Consider using a service like YogiServe for expert guidance and support.
- Keep Copies: Maintain copies of all submitted documents for your records.
- Be Prepared for Delays: Plan for potential delays and apply well in advance of any planned travel.
Why Choose YogiServe?
YogiServe is dedicated to providing exceptional support for Indian passport renewals in the USA. Our team of experts offers:
- Personalized Assistance: Tailored support to ensure your application is complete and accurate.
- Expert Guidance: Professional advice on document requirements and appointment scheduling.
- Hassle-Free Process: We handle the complexities, allowing you to focus on your daily life.
Conclusion
Renewing your Indian passport in the USA doesn’t have to be complicated. By following this comprehensive guide and leveraging the expertise of YogiServe, you can ensure a smooth and efficient renewal process. Contact YogiServe today to get started and travel with peace of mind.
Contact YogiServe:
For more information or to schedule a consultation, visit our website at YogiServe.com or call us at +1 (312) 659-4935

Leave a Reply
Want to join the discussion?Feel free to contribute!